Setting up Stripe in your app is relatively straightforward. Begin by creating your account on Stripe and obtaining the secret access keys. Once you have these keys, you are ready to utilize their API for processing payments. For testing purposes, Stripe offers test credentials to validate your payment flow.
Stripe provides well-organized API documentation that makes it easy to get started. In this article, we will use Salesforce Apex language to sync accounts from Salesforce to Stripe as customers. This synchronization will include opportunity price and amount data from Salesforce, ensuring that it corresponds with the customer invoice in Stripe.

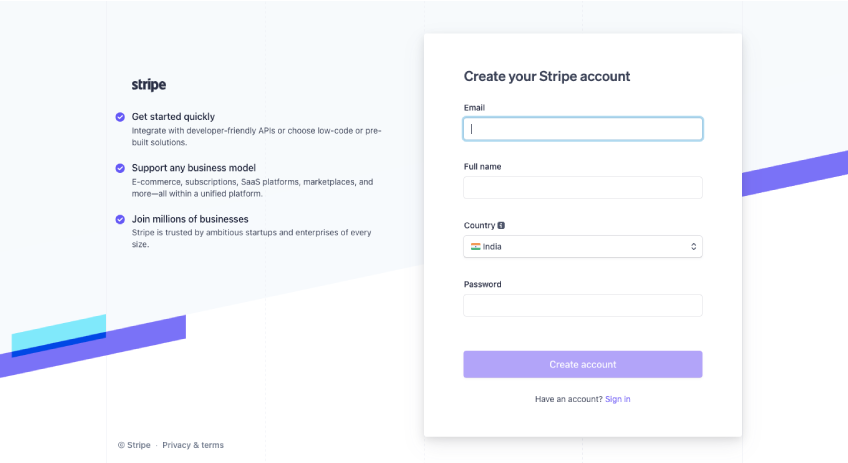
1. Create Stripe Account
In order to use Stripe, you need to register yourself on Stripe.
2.Get Secret key and publishable key
Go to the developers’ section in Stripe and click here to find the API key section. Copy both the publishable key and the secret key. Once you have located these keys, copy and save them in Salesforce custom settings.
In the custom setting, create two fields: “Secret Test Key” and “Publishable Test Key.” Add the required data and save it. Furthermore, when integrating with Apex, we can utilize these keys through a method.
3.Establish a connection between Stripe and Salesforce via Apex.
You need to create a class and a method for this connection. In order to establish the connection, create two separate classes for this purpose: one is “StripeCallout,” and the second is “StripeApi” for handling the API key. You can also refer to the API documentation provided by Stripe for additional guidance
public class StripeCallout {

    private static final String CUSTOMER_URL = 'https://api.stripe.com/v1/customers';
    private static final String API_KEY = StripeAPI.ApiKey;
    public static HttpResponse makeCallout(Account acc){

      System.debug('acc from makecallout controller  ==============----------- '+acc);
        System.debug('api key----------- '+API_KEY);
        Integer statusCode;
        string response;
        HttpRequest http = new HttpRequest();
        http.setEndPoint(CUSTOMER_URL);
        http.setMethod('POST');
        Blob headerValue = Blob.valueOf(API_KEY + ':');
        String authorizationHeader = 'BASIC '+EncodingUtil.base64Encode(headerValue);
        http.setHeader('Authorization',authorizationHeader);
         String requestBody = 'email=' + EncodingUtil.urlEncode(acc.Email__c, 'UTF-8') +
             		      '&phone=' + EncodingUtil.urlEncode(acc.phone , 'UTF-8')+
                             '&name=' + EncodingUtil.urlEncode(acc.Name, 'UTF-8');
	http.setBody(requestBody);
        http con = new Http();
        HttpResponse hs = con.send(http);
        System.debug('hs getbody --->> '+hs.getBody());
        response = hs.getBody();
        statusCode= hs.getStatusCode();
        System.debug(' statusCode --->> '+hs.getStatusCode());
        return hs;
    }
}
global class StripeAPI {
global static String ApiKey{
get{
StripeSettings__c s = StripeSettings__c.getInstance();
if(s!=null){
System.debug('s.Stripe_Secret_Test_Key__c is ==>'+s.Stripe_Secret_Test_Key__c);
return s.Stripe_Secret_Test_Key__c;
}
return null;
}
}
}4. Test your connections
Now, you can test your connection to check whether you receive a “200 OK” status. If you receive an “OK,” it indicates that your connection is ready to sync the data. Additionally, we are using the account record to sync as a customer from Salesforce to Stripe.
I have created a separate Visualforce page for this purpose and a controller to pass the data at runtime via an action button. The customer ID is also stored as a response. In order to sync the invoice, you have to pass the customer ID and then synchronize the invoice for that particular customer.
public class StripeCustomerController {
   public StripeCustomerController(){
}
     public static Id accId{get;set;}
     public Account acc {get;set;}

    public StripeCustomerController(ApexPages.StandardController controller){
         accId = controller.getRecord().Id;
        System.debug('acc is '+acc);
    }
    @future(callout = true)
    public static void createCustomer(Id accId){
       Account  acc = StripeCustomerHelper.getAccount(accId);
        HttpResponse responses = StripeCallout.makeCallout(acc);
        system.debug('responses'+responses);
       CustomerResponse cr =  CustomerResponse.parse(responses.getbody());
        System.debug('crid---------s'+cr);
        Update new Account (id=accId,CustomerID__c=cr.id);
    }

     public Pagereference syncStripe(){
        StripeCustomerController.createCustomer(accId);
        return new PageReference('/'+accId);

    }
}
public class StripeCustomerHelper {
public static Account getAccount(Id accId){
return [SELECT Id,
Name,
ShippingCity,
ShippingStreet,
ShippingState,
ShippingCountry,
ShippingPostalCode,
phone,
Email__c,
BillingCity,
BillingStreet,
BillingCountry,
BillingPostalCode,
BillingState,
BillingLatitude,
BillingLongitude
FROM Account
WHERE Id =: accId];
}
}<apex:page standardController="Account" extensions="StripeCustomerController" action="{!syncStripe}">
</apex:page>5. Account setup in Salesforce
After completing these steps, create a button on the Account record page and call the Visualforce page, then save it. Add the button to the page layout and save the changes.
After clicking the button, your account data, including name, email, and phone, will sync with the Stripe customer. You can add more fields as needed based on your business requirements. Now, check your Stripe dashboard and click on “Customers”; you will see the synced customer.
6. Opportunity sync as invoice
Afterward, create an opportunity related to the account, add the amount, price, description, currency, and save it.
Now, I have created a separate class and method to send the opportunity as an invoice from Salesforce. Create a wrapper class for this to receive the response
public class Stripe{

    String API_KEY='';
    public Stripe(string apiKey){
        API_KEY = apiKey;
    }
    public StripeResponseModel createInvoice(String customer,String amount,String curency,String description){
        StripeInvoice strInv=new StripeInvoice(API_KEY);
        return strInv.createInvoice(customer,amount,curency,description);
    }

}
public class StripeOpportunityHelper {
public static Opportunity getOpportunity(Id oppId){
return [SELECT id,AccountId,Amount,Account.CustomerID__c,Account.Name,Description FROM Opportunity WHERE Id =: oppId];
}
}public class StripeOpportunityController {
public StripeOpportunityController(){
}
public static Id oppId{get;set;}
public Opportunity opp {get;set;}
public StripeOpportunityController(ApexPages.StandardController controller){
oppId = controller.getRecord().Id;
opp = StripeOpportunityHelper.getOpportunity(oppId);
System.debug('opp is '+opp);
Stripe request = new Stripe(StripeAPI.ApiKey);
StripeResponseModel response = request.createInvoices(opp.Account.CustomerID__c,String.valueOf(Integer.valueOf(opp.Amount)), 'inr', opp.Description);
}
public Pagereference syncStripe(){
//acc = StripeCustomerHelper.createOrUpdateCustomer(acc);
//update acc;
return new PageReference('/'+oppId);
}
}public class StripeResponseModel{
public string id {get;set;}
public string rObject{get;set;}
public string amount {get;set;}
public string paid {get;set;}
public String curency{get;set;}
public string fee {get;set;}
public string created {get;set;}
public string livemode {get;set;}
public string description {get;set;}
public string refunded {get;set;}
public boolean isError {get;set;}
public String name{get;set;}
public String interval{get;set;}
public StripeCardResponseModel card {get;set;}
public StripeErrorModel errorResponse {get;set;}
public StripeResponseModel(){
card=new StripeCardResponseModel();
errorResponse=new StripeErrorModel();
}
}
public class StripeInvoice{
StripeResponseModel StripeResponseModel{get;set;}
public StripeGetResponseValues stripeGetResponseValue{get;set;}
Integer statusCode;
string response;
String INVOICE_URL='https://api.stripe.com/v1/invoiceitems';
String INVOICE_URLS='https://api.stripe.com/v1/invoices';
String API_KEY='';
public StripeInvoice(String apikey){
API_KEY=apikey;
StripeResponseModel=new StripeResponseModel();
stripeGetResponseValue=new StripeGetResponseValues();
}
public StripeResponseModel createInvoice(String customer,String amount,String curency,String description){
HTTpRequest http=new HTTpRequest();
http.setEndPoint(INVOICE_URL);
http.setMethod('POST');
Blob headerValue = Blob.valueOf(API_KEY + ':');
String authorizationHeader = 'BASIC ' +
EncodingUtil.base64Encode(headerValue);
http.setHeader('Authorization', authorizationHeader);
http.setBody('customer='+customer+'&amount='+amount+'¤cy='+curency+'&description='+description);
Http con = new Http();
HttpResponse hs = con.send(http);
response = hs.getBody();
statusCode=hs.getStatusCode();
if(statusCode!=200){
StripeResponseModel.errorResponse.code=statusCode;
StripeResponseModel.errorResponse.message=stripeGetResponseValue.getValue(response,'"message":');
StripeResponseModel.errorResponse.param =stripeGetResponseValue.getValue(response,'"param":');
StripeResponseModel.isError=true;
}else{
StripeResponseModel.isError=false;
StripeResponseModel.id=stripeGetResponseValue.getValue(response,'"id":');
}
return StripeResponseModel;
}
}
public class StripeGetResponseValues{

    public string getValue(string accRecordJson, string fieldName){
        integer startIdx = accRecordJson.indexOf(fieldName);
        integer endIdx = -1;
        if(startIdx > 0){
            endIdx = accRecordJson.indexOf('",', startIdx);
        }
        if(startIdx > 0 && endIdx > startIdx){

            return accRecordJson.substring(startIdx + fieldName.length() + 2,endIdx);
        }
        return '';
   }
}
Map all these classes and methods, and also add the button for the Opportunity custom button to sync the opportunity. You can also incorporate additional logic or conditions based on your business requirements.
After completing these steps, click the “Sync Invoice” button. You will find the invoice items inside the Stripe customer. You can convert the invoice and send a payment link to that particular customer via their email.
“Thank you for taking the time to read our blog! We appreciate your interest and hope you found valuable insights within these articles. If you have any questions, comments, or suggestions, we’d love to hear from you. Your feedback is invaluable as we strive to provide content that matters to you. Stay tuned for more enriching articles, and once again, thank you for being part of our reading community!”